How to make a Hotel Lobby AI video from two photos
Learn how to make a Hotel Lobby AI video from two photos, choose your format, review the result, and prepare your Migos-style duet for TikTok.
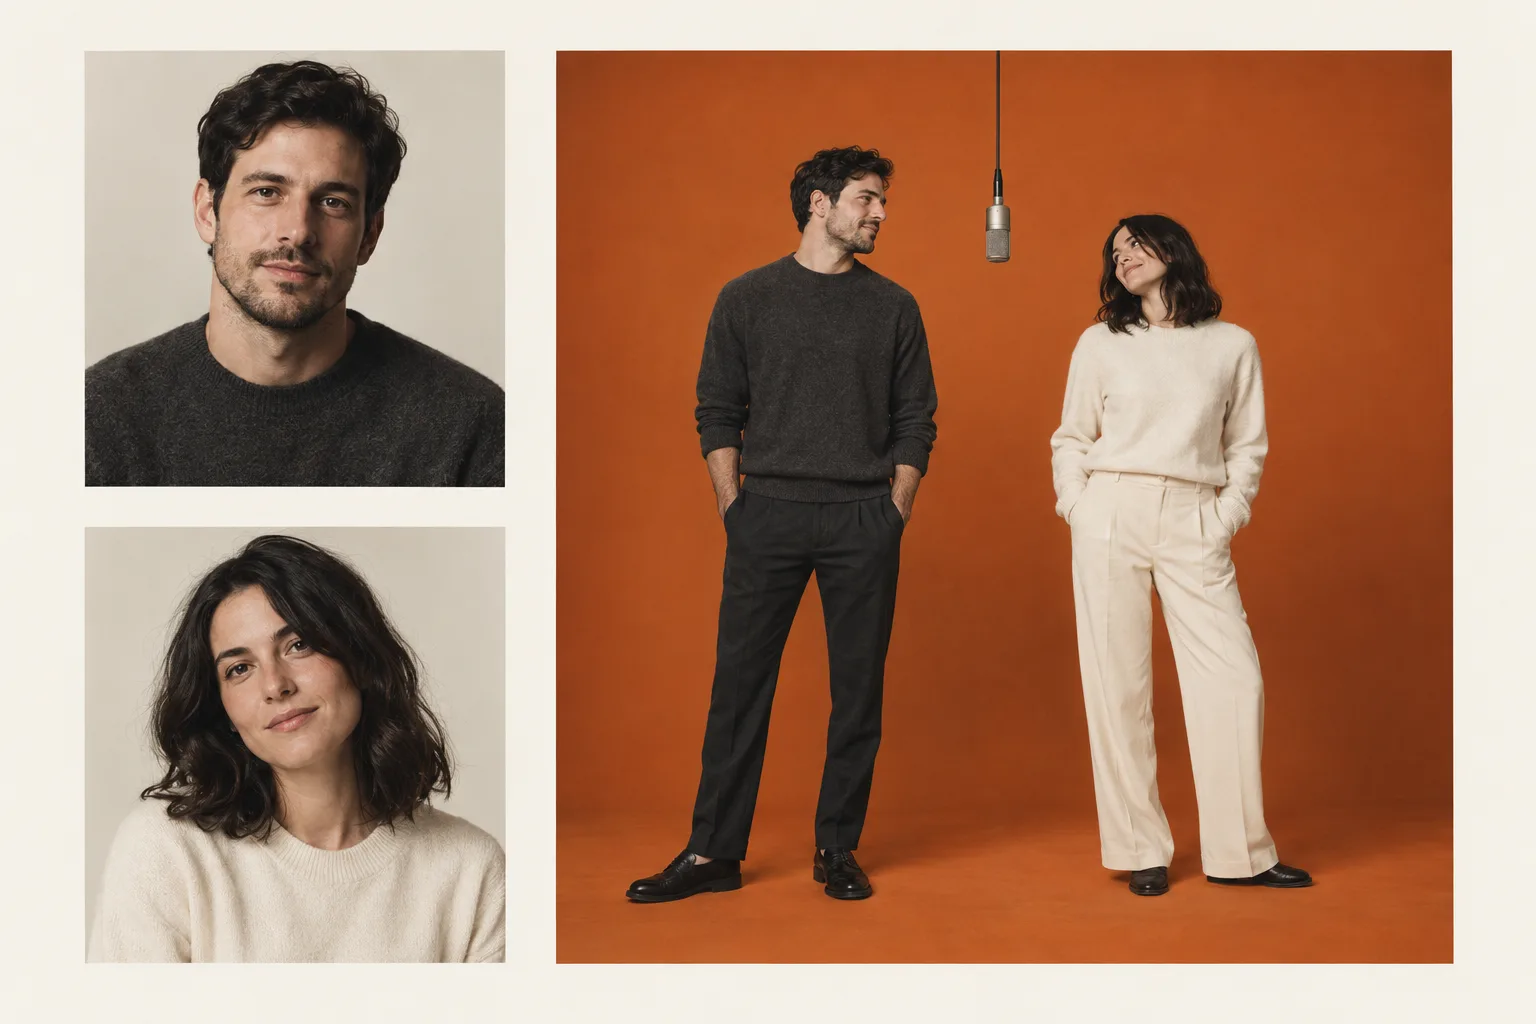
Here is how to make a Hotel Lobby AI video: prepare one clear image of each subject, upload them to the left and right slots, choose your output settings, confirm the credit cost, and generate. Watch the complete clip before downloading it. On this site, each video lasts 10 seconds and the orange-booth scene prompt is already supplied.
You can start in the homepage video generator. This guide covers the preparation and checks that the short upload flow cannot explain in detail. It also describes how an external prompt or reference-video workflow differs, so you can choose a method that accepts the materials you have.
If you found the Hotel Lobby AI trend on TikTok, make the video here first and upload the downloaded file afterward. This site's generator runs outside TikTok's camera effects.
The steps and prices below were checked against the product on October 3, 2026. The illustrations are generated teaching concepts, not a tested input-to-output sequence. We do not claim that these pictured subjects produced a particular video.
Choose the workflow before preparing your files
Use this site's Studio when you want two subjects in the prepared orange booth and do not need to write scene instructions. You provide the two images, model, supported resolution and aspect ratio. There is no prompt box or reference-video upload to complete.
Choose an external workflow if you specifically need custom instructions or a source clip to guide movement. First confirm that the selected tool and mode accept separate subject images and, if needed, motion reference. Two image slots can also mean first and last frames, which is a different task from assigning two performers.
| Your goal | Starting point | What you need to verify |
|---|---|---|
| Make a duet in this site's prepared booth | Studio | Two subject images, selected settings and displayed credit cost |
| Develop a pairing or visual idea | Templates | Examples are concepts; prepare and upload your own images |
| Write custom instructions for another tool | Video prompts | The external tool accepts the required references and text |
| Follow movement from a source clip elsewhere | Reference-video notes | Accepted input format, motion-reference support and permission to use the source |
For background on the Migos Hotel Lobby AI trend and its original performance, read our explainer. The visual source is the official Quavo & Takeoff performance on A COLORS SHOW. Watching that source helps explain the composition; it is not a required upload step here.
Prepare two separate subject photos
Start with one subject per image. Choose a clear portrait or upper-body photo where the face, hair and clothing are easy to see. A group shot leaves more ambiguity about which person should appear. A dark, heavily filtered or obstructed face also makes the eventual likeness harder to judge.
Decide on the order before uploading. Call your references “left” and “right” in your own notes or filenames. If you are using two similar-looking characters, identify a visible difference, such as jacket color or head shape, that you can check in the generated clip.
You do not need to place the subjects against an orange background yourself. The prepared scene prompt supplies the booth. Focus on communicating each subject clearly instead of editing an elaborate background that the final scene will not use.
For pets, choose photos with visible eyes, ears and distinctive markings. Review the whole body if it is visible, especially paws and tails. For original illustrated characters, use references with a consistent drawing style unless a mixed-style result is part of your plan. These are preparation suggestions, not model-tested guarantees.
If you lack a suitable image, the subject-image prompts explain how to prepare one in an external image tool. The photo preparation recipe is relevant when you already have a photo. That process is separate from generating the duet, and any external service has its own terms and costs.
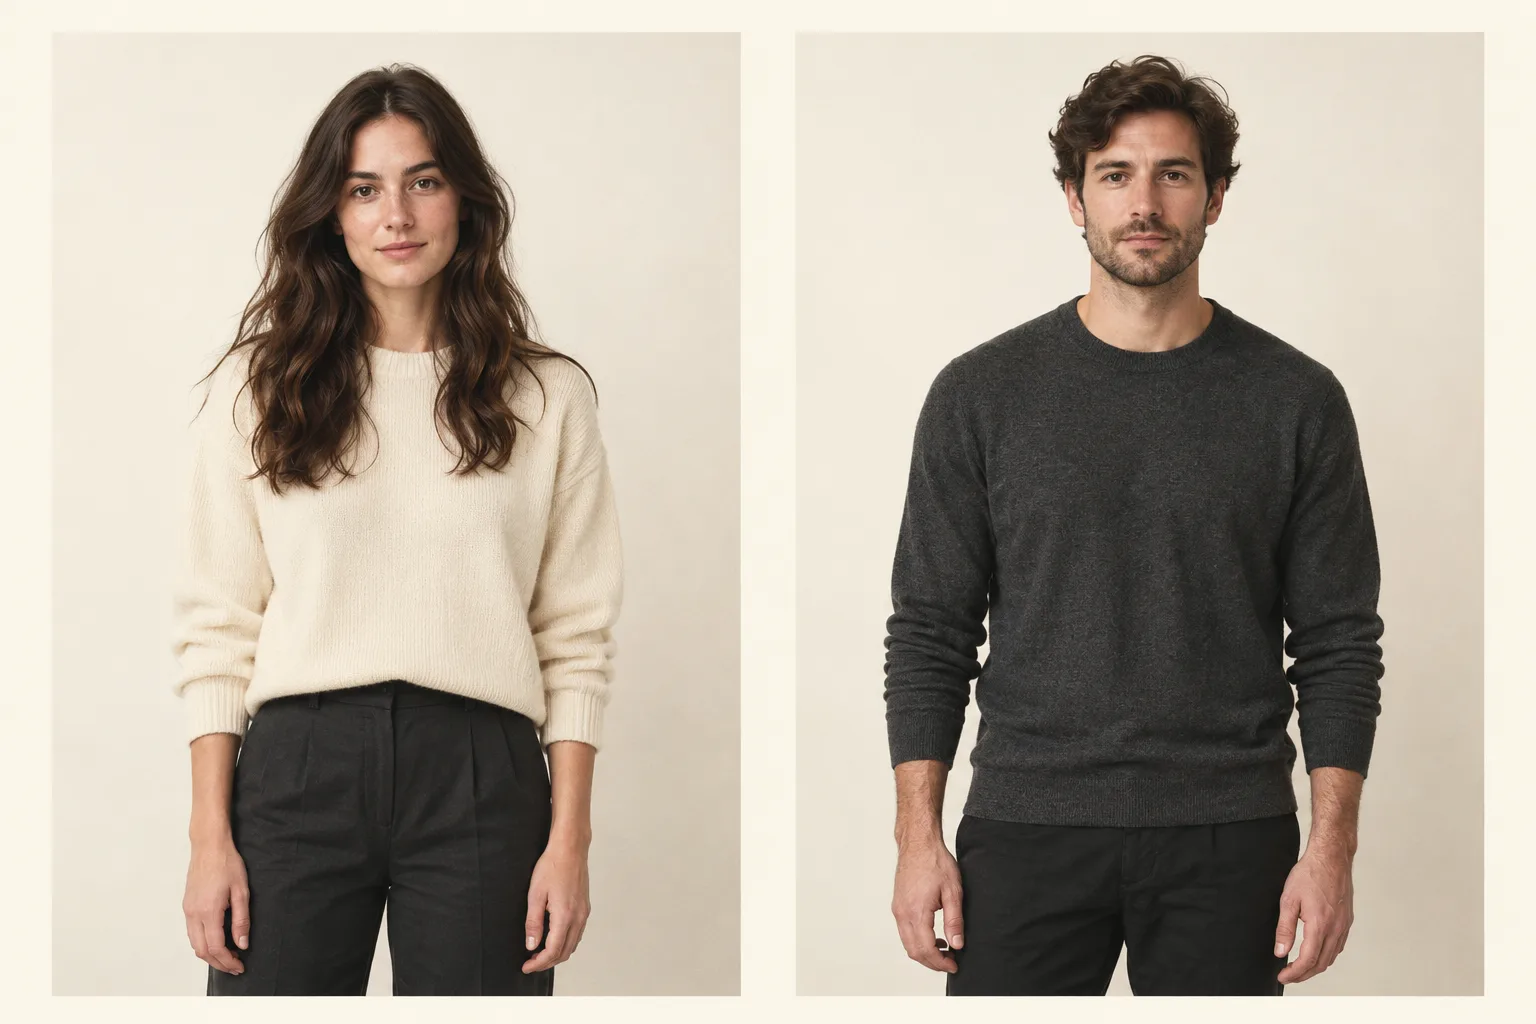
Reference-preparation illustration. Keep each subject in a separate image so you can check the left/right assignment before generating.
Use images you have permission to submit and make sure the people involved understand the intended use. Before spending credits, open both files at a comfortable viewing size. If you cannot distinguish a facial feature in the reference, avoid expecting the generated video to reproduce it exactly.
Make the video in Hotel Lobby AI Studio
1. Upload the left and right references
Open the two-photo Studio and sign in when required. Put your first subject in the left performer slot and the second in the right performer slot. Check the previews rather than relying only on filenames. Correct the order before generating if the subjects are reversed.
The scene instructions request that Subject 1 stays on the left and Subject 2 stays on the right. They also request distinct faces and outfits. Those directions guide generation; they cannot guarantee that the model will preserve every feature or position throughout the clip.
2. Choose landscape or portrait
The default is 16:9 landscape. Keep it when you want a horizontal composition with space beside the two performers. Select 9:16 portrait when you want a vertical TikTok post, then check that both subjects fit in the generated frame. Make the choice before generation rather than assuming the download will contain both formats.
For a duet, changing the frame after generation can be awkward: a narrow crop may remove a performer or the center microphone. Generate in your intended aspect ratio and review the full frame. The illustrations on this page are displayed without cropping so you can inspect their complete compositions.
3. Select a model and supported resolution
Studio offers Basic and Premium. Each has its own resolution choices and credit cost for the same 10-second duration. Use the current quote shown in the interface as the final check before submission.
| Model | Resolution | Credits per 10-second video |
|---|---|---|
| Basic | 768P | 80 |
| Basic | 2K | 130 |
| Premium | 480P | 170 |
| Premium | 720P | 380 |
| Premium | 1080P | 950 |
These are product prices, not quality rankings from a comparison test. A higher resolution does not guarantee a more accurate face, better hands or exact timing. Choose a cost you are comfortable using for an attempt, especially when you have not yet tried the reference pair.
The pricing page lists one-time packs: $19.90 for 400 credits, $39.90 for 1,000, and $79.90 for 4,000. Purchased credits do not expire. Check your balance against the selected video's cost; buying a pack does not mean every model and resolution consumes the same amount.
4. Review the quote and generate once
Before pressing Generate, check both uploaded subjects, the aspect ratio, model, resolution and quoted credits. There is no custom scene text to paste here. Copying a library prompt does not update the Studio's fixed instructions.
Submit the task and follow its status. Generation timing varies. If it remains pending or processing, treat it as unresolved rather than assuming it has failed and immediately starting several more tasks. Additional submissions can create additional chargeable attempts.
When the task completes, review the result in the player. Confirmed failed generations return their deducted credits. A completed video that differs from your artistic expectations is not automatically a failed generation. Keep that distinction in mind when deciding whether to change your references and try again.
5. Watch the full result and download
Watch all 10 seconds, including the final moments. Check that both subjects remain distinct, the requested placement is sensible and the composition keeps the important features visible. Then listen with sound on. Music being present is different from the mouths matching every word.
Download the MP4 once you have reviewed it. The default download includes “HOTEL LOBBY” music from the A COLORS SHOW performance. The generation purchase does not grant rights to that recording or to other people's likenesses. Review the site's terms of service and the destination's current rules for your intended publication.
Use prompts or motion references in another tool
A custom workflow can require more preparation. Dreamina's guide describes a two-photo, prompt-led route, while Affogato's tutorial uses a reference-clip workflow within its own product. Follow the selected service's current instructions rather than mixing controls from both guides.
First, find the mode that accepts the inputs you need. Confirm whether images identify subjects, set a start or end frame, or supply a visual style. If you want movement from a video, look for an actual reference-video input and check the file limits. Mentioning a clip in a prompt does not establish that the tool can access it.
Next, assign the subjects in the same order as the uploaded references. The external video recipes explain scene composition and role mapping. Adapt a recipe to the fields the tool supports; do not assume labels or reference tokens work identically across services.
Keep your first direction focused on a readable scene. A clear gap between subjects, one microphone and a steady composition give you specific things to evaluate. Complicated camera moves and several unrelated actions create more details to inspect if the result goes wrong.
If the mode accepts a motion-reference clip, use material you have permission to process. A link to the official performance is useful for understanding the source, but it is not evidence that a generator accepts YouTube URLs or that you may reuse the footage. Follow the service's documented upload method.
Finally, check audio independently. Some workflows retain source audio, some generate audio, and some require editing afterward. Do not assume a video recipe includes a soundtrack. Save the completed output and review its actual contents before choosing a publishing workflow.
Review problems before paying for another attempt
Separate the problem you can observe from the change you plan to make. “It looks wrong” is hard to act on. “The right subject's jacket changes halfway through” gives you something specific to compare against the source image.
| What you see | What to check next |
|---|---|
| The wrong subject appears on one side | Recheck upload order and compare the previews with the result |
| Faces or markings become hard to recognize | Inspect the original photos for blur, obstruction or ambiguous subjects |
| Hands or bodies merge near the microphone | Watch the full sequence and consider a clearer reference with visible separation |
| The frame is too narrow for your use | Confirm the selected aspect ratio; avoid treating a crop as a second generated format |
| A task has not completed | Read its status before submitting another task; pending is not confirmed failure |
| Music is present but mouths do not match | Assess the actual timing; soundtrack inclusion is not precise lip-sync verification |
Change one relevant input at a time when possible. If you replace both references, switch the model and change the aspect ratio together, it becomes harder to understand which change helped. Keep a simple note of the pair, settings and problem you are trying to resolve.
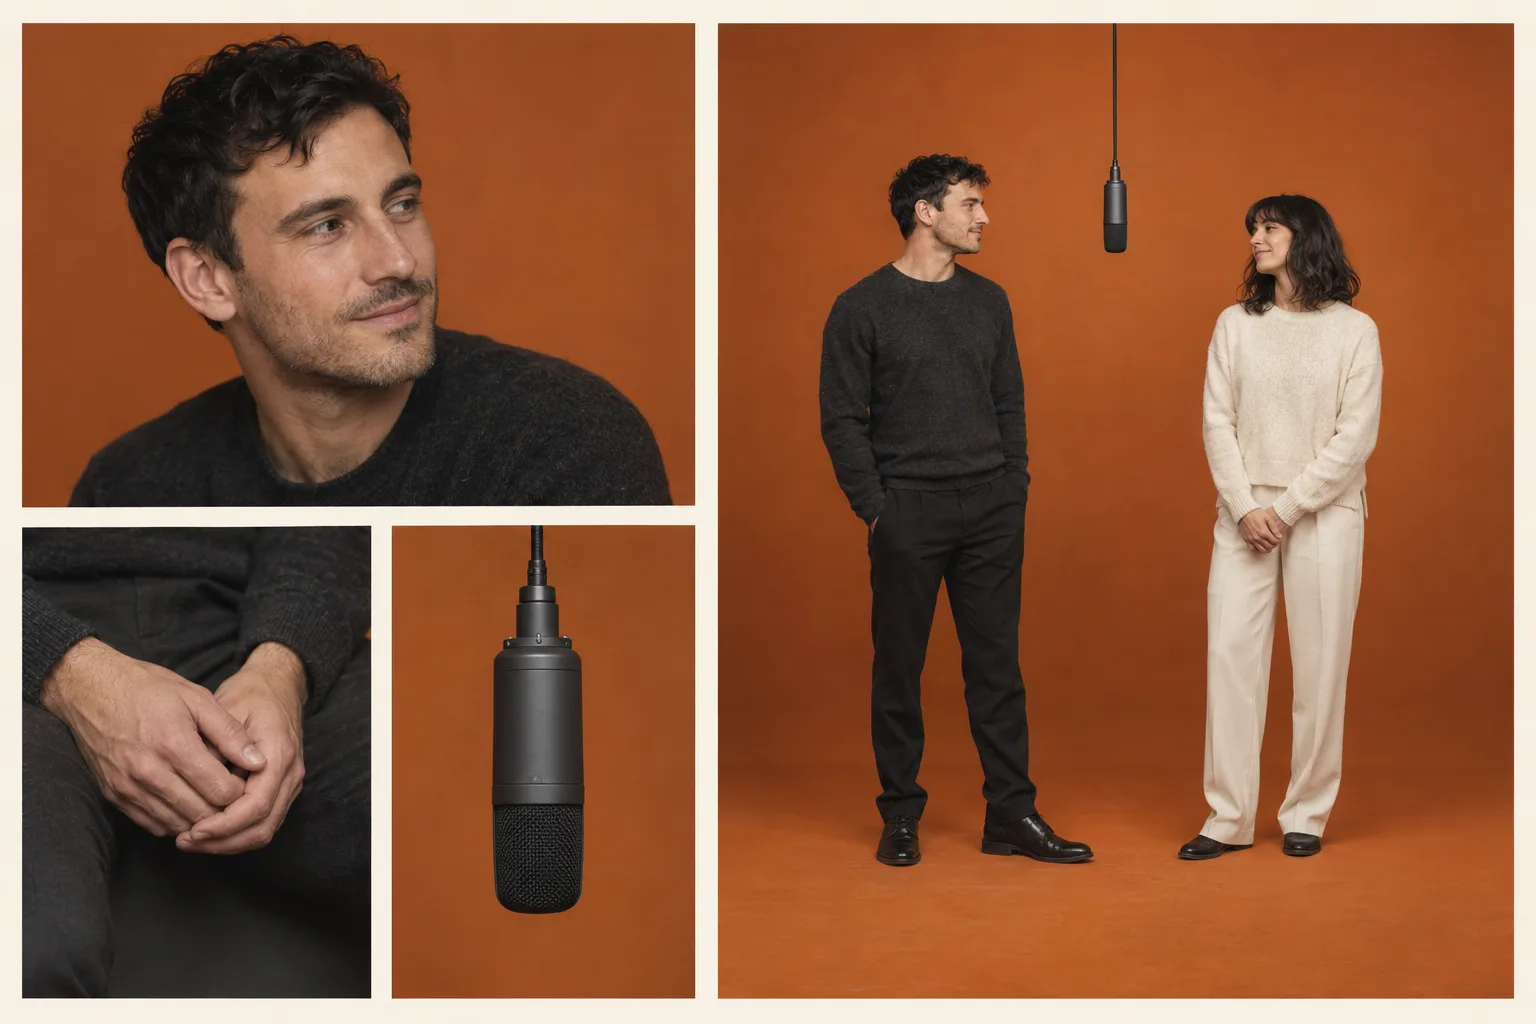
Review illustration: compare identity details, inspect hands and watch the complete composition. These panels are teaching artwork, not extracted frames from a tested generation.
Before sharing, play the saved file once outside the result panel. Confirm that you downloaded the version you intended and that its sound and framing work for your destination. If you plan to publish on YouTube, consult its current Shorts format guidance rather than assuming a horizontal clip will be treated as a Short.
Share your Hotel Lobby AI video on TikTok
Once the downloaded MP4 plays correctly, you can prepare it for a TikTok post. This site does not connect to your TikTok account or publish on your behalf. You do not need to paste a TikTok link into Studio.
- Choose the file you reviewed. For a vertical post, use the version you generated in 9:16. Check both subjects and the microphone before adding an edit that might crop them out. If you want to make a new version, return to Studio with your two reference images.
- Open TikTok's video-posting flow and select the downloaded file. Preview the uploaded video to confirm its framing and playback. Follow the current app interface; controls can differ by device or account.
- Listen before adding another sound. The Studio download includes music by default. A TikTok sound layered over it can leave two tracks playing at once. Check the mix and the rights for your intended use. For content promoting a brand, product or service, consult TikTok's commercial music guidance. Paying for generation does not purchase music rights.
- Review TikTok's AI-generated content guidance and apply the disclosure appropriate to your clip. Do not assume an externally generated file already carries the required label.
- Check the caption, visibility settings and final preview. Describe the clip as an AI creation rather than authentic footage of the subjects performing. Music availability and publication decisions belong to the destination platform; the generator cannot guarantee approval or views.
Common questions before your first video
How do I make the Hotel Lobby AI trend for TikTok?
Prepare two subject images, select 9:16 if you want a vertical video, generate in Studio, review the result and download the MP4. Upload that file to TikTok yourself, then check sound and AI disclosure before posting. See the TikTok sharing steps above. This workflow does not need a TikTok URL.
How do I do the Hotel Lobby AI video with two photos?
Use one separate reference per subject, assign left and right, choose the output settings and generate. In this site's Studio the scene prompt is supplied. In an external tool, first check that two images can represent two identities rather than a start and end frame.
Can I make a Hotel Lobby AI video completely free?
This site's prompt library is free to read and copy; video generation uses credits. External free offers may have their own limits, so verify the actual generation and download terms before relying on them. This guide does not promise a free Studio render.
Do I need the original reference video?
Not for this site's Studio. You upload two images and the scene instructions are already prepared. An external motion-reference workflow may require a supported source file. Check its mode, upload requirements and permissions before preparing that file.
Where do I paste a Hotel Lobby prompt?
Paste it into an external tool that supports custom prompts and the necessary reference inputs. Studio on this site does not have a custom prompt field. The prompts page explains that distinction and offers separate recipes for preparing subject images and directing external videos.
How long is the result, and can I change its format?
The current Studio result is 10 seconds. Choose 16:9 landscape or 9:16 portrait before generating. Duration is fixed in this workflow. A downloaded file contains the format you selected, not a bundle of horizontal and vertical versions.
What should I prepare before opening Studio?
Have two clear, authorized images, decide who goes on each side, and know where you want to use the finished video. Then open Studio and check the generation quote. If the pairing is still undecided, browse the templates first and choose references that make each subject easy to recognize.